Add Row
Add Element
cropper
update
HealthWorks Nevada
update
Add Element
  • Home
  • Categories
    • Quick & Healthy Recipes
    • Mind & Mood Boosters
    • Longevity & Vitality
    • Everyday Health Hacks
    • Healthy Home & Environment
    • Alternative Wellness
    • Chiropractic & Body Alignment
    • Movement & Fitness
June 27.2025
3 Minutes Read

Revitalize Your Hygiene Routine with DIY Foaming Hand Soap

DIY foaming hand soap used under faucet.

Transform Your Handwashing Routine with DIY Foaming Soap

In today's fast-paced world, parents are constantly juggling numerous responsibilities, from keeping their children entertained to ensuring they maintain a healthy lifestyle. One simple yet effective way to incorporate wellness into everyday tasks is through the art of DIY foaming hand soap. With health concerns on the rise and a push towards sustainable living, homemade soaps not only provide a safe and natural alternative but also save you money in the long run.

Why Foaming Hand Soap?

Have you ever noticed how little kids seem to squirt out far more soap than they actually need? Foaming hand soap solves this dilemma. It creates a rich lather while using significantly less product than traditional liquid soap. This is particularly beneficial for households with young children who often view handwashing as a chance to experiment with pump bottles. Moreover, making your own soap allows you to control the ingredients, ensuring a healthy option free from harsh chemicals found in commercial brands.

Essential Ingredients for Your Soap

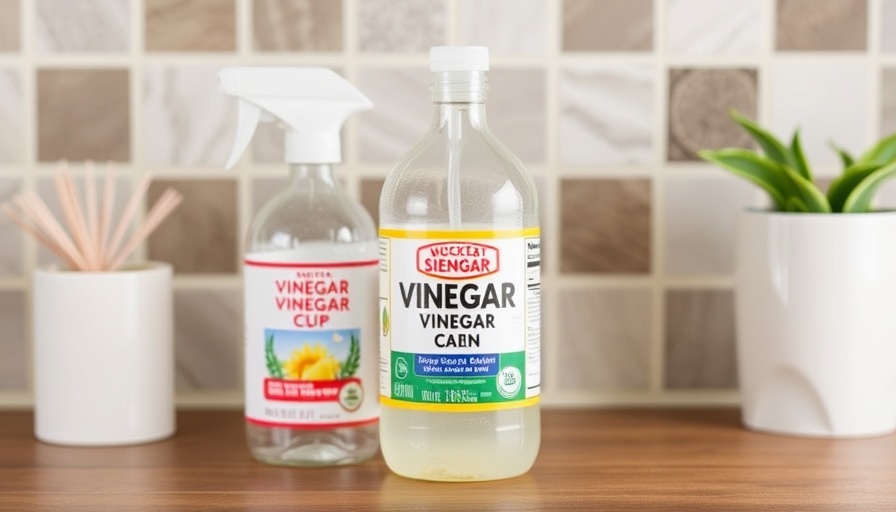
The beauty of DIY foaming hand soap lies in its simplicity. The core ingredients include liquid castile soap, moisturizing oils, and distilled water—items you can easily find at your local grocery store or online. For those unfamiliar, castile soap is a plant-based soap that not only cleanses but also hydrates the skin. Olive oil is a common choice for its moisturizing properties, but you can also opt for sweet almond or jojoba oil, depending on your skin's needs.

Adding essential oils offers another dimension to your homemade soap. Not only do they impart pleasant fragrances, but many essential oils like tea tree, lavender, and lemon possess natural antimicrobial properties, enhancing the soap’s effectiveness. This means you can multiply the health benefits while enjoying delightful aromas during handwashing.

A Simple Recipe That Works

If you’re ready to dive into DIY, let’s look at a straightforward recipe:

  • 12 oz distilled water
  • 2 TBSP liquid castile soap
  • ½ tsp olive oil (or any liquid carrier oil of your choice)
  • ¼ -1/2 tsp essential oil (optional, based on preference)

The result? A luxurious foaming soap you can feel good about using! Just remember that this homemade variety should ideally be consumed within a week due to the lack of preservatives.

Fun with Kids and Household Purposes

Engaging children in activities like making soap can foster a deeper understanding of hygiene, while also presenting a practical way to spend quality time together. With a little guidance, even young kids can assist in measuring and pouring ingredients—making them feel included in the process. Plus, the satisfaction of using a product they helped create might encourage them to wash their hands more diligently!

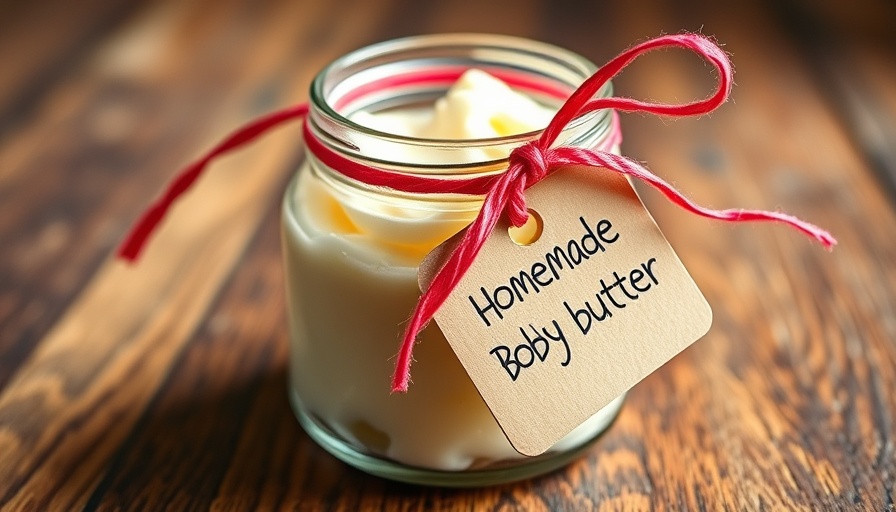
Beyond handwashing, the foaming soap can double as a gentle body wash or shaving cream, making it a versatile addition to your household. This means less clutter in your bathroom while encouraging the use of natural, safe products in the delicate skin of your family.

Saving Money and Embracing Sustainability

Switching to DIY foaming hand soap not only contributes to your family’s health; it’s also environmentally friendly. With plastic pollution at an all-time high, creating your own products allows for the reuse of soap dispensers. This cuts down on waste while providing a potent example to children on the importance of sustainability. The fact that DIY soap is significantly cheaper than store-bought versions amplifies its appeal, freeing up funds for other family needs.

Conclusion: A Small Step Towards a Healthier Home

Incorporating DIY foaming hand soap into your routine could be one of the easiest and most rewarding changes you make this year. It empowers families to take charge of their health and the environment—one bottle at a time. So why not gather your ingredients and get started today? Your clean and healthy hands will thank you!

By choosing to make your own foaming hand soap, you're not only providing a clean product for your family but also embracing a lifestyle that promotes wellness, sustainability, and cost-effectiveness. Take that first step and redefine your approach to health in your home.

Healthy Home & Environment

Write A Comment

*
*
Related Posts All Posts
08.08.2025

Why You Should Make Soft Homemade Cat Treats for Your Feline Friends

Update Why Homemade Cat Treats are a Game Changer In a world where convenience often overshadows quality, pet owners have an amazing opportunity to change the narrative by opting for homemade cat treats. Not only does making your own allow for control over the ingredients, but it also provides a bonding experience with your furry friends. As our understanding of pet nutrition improves, the benefits of using natural ingredients versus commercial options become increasingly apparent. Ingredients That Elevate Wellness Choosing to create healthy cat treats starts with understanding the powerful ingredients that go into each bite. For instance, coconut oil serves as a multi-tasking wonder, delivering healthy fats and vital nutrients that promote healthy skin and digestion. It’s a staple in many whole-food diets and works remarkably well in treating our pets like family. Coconut flour adds fiber and is gentle on feline tummies, quite unlike grain-rich products that can upset their digestive systems. Sweet potatoes provide the added nutrients known to enhance vision due to their vitamin A content, making them a valuable component worthy of consideration in feline diets. Nutritional Superstars for Cats At the core of these soft and chewy treats are proteins such as tuna and sardines. Not only do they tantalize your cat's taste buds, but they also lay down a rich foundation of omega-3 fatty acids that are essential for skin and coat health. And let’s not forget the power of eggs — a complete protein source that helps with binding while boosting nutritional value. With steps to incorporate these into homemade treats, it’s nature’s way of ensuring your cat gets the best. Quick Recipe: Soft Homemade Cat Treats Creating your own cat treats at home is not just an enriching experience; it can easily be integrated into your busy schedule. The total time for preparation and cooking is about 50 minutes - a small investment for the health of your beloved pets. Ingredients Needed: 1 cup of coconut oil 1 cup of coconut flour 1 cup of cooked sweet potatoes 1 tablespoon of gelatin powder 1 can of tuna (in water or oil) 1 egg Mix these ingredients until well combined, form them into small shapes, and bake until golden. Store them in the fridge and serve as a delightful treat that boosts your cat’s health and spirit! The Wellness Connection: Keeping Felines Fit As pet owners, our journey toward improving our pets’ health has parallels with our own wellness. We tend to prioritize whole foods in our diets; it only makes sense that we extend those same principles to our pets. Research indicates that cats have unique dietary needs, often benefiting from reduced grains and an emphasis on protein. Aligning their diets with what they're naturally suited for leads to longer, healthier lives. Frequently Asked Questions Can I substitute other proteins?Absolutely! While tuna is a crowd favorite, chicken or turkey can also offer similar deliciousness packed with nutrients. How do I know if these treats are suitable for my cat?Each cat is unique; always introduce new treats gradually and monitor for any adverse reactions. If in doubt, consult your vet. Final Thoughts: Get Creative! Homemade cat treats provide an avenue for pet owners to express their love and commitment to the health of their pets. As you venture into creating these delectable yet nutritious bites, consider experimenting with other pet-friendly ingredients that might delight your feline friend. Move beyond the store-bought options — explore, innovate, and engage in the fulfilling world of pet care that prioritizes health and happiness! Ready to embark on this adventure? Gather your ingredients and start crafting delightful treats that your cats will adore!

07.31.2025

Discover Simple Vinegar Cleaning Swaps That Promote a Healthier Home

Update Why Switch to Vinegar for Cleaning? In an era of heightened awareness about health and wellness, making small changes in our cleaning habits can significantly impact our home environment. For families seeking ways to reduce exposure to toxins, vinegar emerges as a budget-friendly, effective alternative to conventional cleaners. Millions are turning to natural products, and vinegar—especially in its distilled form—stands out as an all-around solution, proven to cut through grime and restore surfaces to their former glory. The Versatile Cleaning Power of Distilled White Vinegar Distilled white vinegar isn’t just for salads; it's a powerhouse in households striving for cleaner air and healthier living. Due to its acetic acid content, vinegar can dissolve mineral deposits, grime, and other dirt, making it perfect for various cleaning tasks. Just remember, while vinegar's pungent aroma may initially find its way into your home, it dissipates quickly, and with the addition of essential oils, you can enjoy a fresh, pleasant scent. Effective Uses of Vinegar: Cleaning Hacks to Try Here are five effective vinegar cleaning hacks that every busy parent should incorporate into their cleaning routine: Stain Removal Champion: For stubborn stains on clothing or carpets, pour undiluted vinegar directly onto the stain, let it sit, and then wash as usual. It's especially effective against wine, tomato sauce, and other deep stains. Window Cleaner extraordinaire: Create a spotlessly clean window solution by mixing one part vinegar with three parts water. A few drops of essential oil can enhance the cleaning effect and small bowl of soap can be added for grease. Natural Mold Remover: Use a mixture of one part borax and four parts vinegar in a spray bottle; this funky duo effectively tackles mold issues in your home. Hardwood Floor Savior: Combine one-third to two-thirds cup of white vinegar with a gallon of warm water to clean your hardwood floors. It’s efficient and leaves your home smelling clean and fresh. Just remember not to overdo it, as vinegar can damage certain finishes. Germ-Busting Powerhouse: Vinegar's natural acidity can eliminate bacteria, making it a great tool for disinfecting high-touch areas. What Not to Clean with Vinegar While the benefits of vinegar are immense, there are a few surfaces that should be avoided to prevent damage: Finished Wood: Excessive use can degrade the finish over time. Stone Countertops: Granite, marble, and other natural stones can be etched and damaged by vinegar. Dishwashers and Washing Machines: Overuse can harm rubber components. Mold: While vinegar can kill surface mold, deep-rooted issues require professional inspection. Inspiration for Healthier Living Switching to vinegar as a cleaning agent isn't just a chore; it’s a rewarding lifestyle change that aligns with broader health trends. As families focus on creating healthier home environments, adopting cleaning methods that fall in line with the ideals of natural living becomes increasingly appealing. Not only does it keep your home free of harmful chemicals, but it also supports a lifestyle that emphasizes sustainability and conscious consumption. Next Steps: Transform Your Cleaning Routine With so many benefits to embracing vinegar in your cleaning regimen, why not take the plunge? Make an informed switch today, and experience the effects of cleaner air and surfaces. Even a busy lifestyle can accommodate these straightforward swaps. Remember, the ultimate goal is to create a household where health and wellness thrive. Combine cleaning innovation with family-centric practices, and discover how small changes can generate significant improvement. So, gather your supplies, and get ready to reclaim your home with these acid-powered hacks that work better and are safer for your family!

07.30.2025

Transform Your Skin with This 3 Ingredient Whipped Body Butter Recipe

Update Why You Should Make Your Own Whipped Body ButterHomemade whipped body butter isn’t just a luxurious treat; it’s a smart and sustainable choice for those committed to healthy living. With only three key ingredients, plus optional essential oils for fragrance, you’ll find that creating your own skin moisturizer fosters not only creativity but also consciousness about what goes on your skin. Commercial products often contain preservatives and chemical additives that may not be beneficial, while homemade versions allow you to understand precisely what you’re applying. Additionally, making this recipe can be a fun and engaging family activity, merging health with creativity.The Health Benefits of Natural IngredientsChoosing natural, nourishing ingredients is critical not just for preserving skin health but also for promoting an overall sense of well-being. Shea butter, unrefined and packed with vitamins, helps to moisturize and heal skin, making it an excellent choice for those with dry or sensitive skin types. Cocoa butter, with its rich, emollient properties, offers not just hydration but is also renowned for improving skin tone and elasticity. Finally, sweet almond oil, famous for its softening effects, acts as a barrier to lock in moisture, supporting skin’s hydration throughout the day. By blending these ingredients, your homemade body butter provides essential nutrients that can transform your skin’s health.A Flavor of Personalization With Essential OilsThe beauty of crafting your body butter lies in the ability to personalize it to your liking. Essential oils, which can be infused into the mixture, not only add captivating fragrances but also carry therapeutic properties. For instance, lavender oil can promote relaxation, while citrus oils may uplift your mood. By choosing scents aligned with your intentions, whether it be a calming or energizing effect, you’re personalizing your body care routine to enhance not just your skin but your overall emotional and mental health.Simple Instructions for a Luxurious GlowCreating your own whipped body butter is an uncomplicated process that can become an enjoyable ritual. Start by melting your shea and cocoa butter together using a double boiler setup, where a bowl sits atop simmering water. Once blended, you simply whisk in sweet almond oil and your choice of essential oils. This method ensures a light, whipped texture that’s easy to apply and spreads smoothly across the skin. By allowing the mixture to cool lightly before whipping, you’ll achieve that wonderful fluffy texture that makes application feel like a lavish indulgence.Top Tips for the Perfect Whipped Body ButterTo achieve the best results with your body butter, consider these tips: First, make sure to use high-quality, unrefined butters and oils for maximum benefit. Second, you can experiment with ratios; for a thicker consistency, use more shea butter, while a lighter texture can be achieved with more almond oil. Lastly, store your body butter in a cool, dry place to maintain its luxurious feel and longevity.Gifting and Sharing Your CreationYour homemade whipped body butter not only serves to pamper yourself, but it also makes for a thoughtful gift. Consider presenting your creation in attractive jars, perhaps pairing it with a lovely note about its benefits and suggestions for use. Friends and family will appreciate your time and thoughtfulness, and you might inspire them to embrace DIY projects of their own!Take Action for Healthier Skin Today!Incorporating this simple, three-ingredient whipped body butter into your skincare routine is a straightforward way to boost your health and well-being, one application at a time. Not only do you benefit from the nourishing properties of natural ingredients, but you’ll also enjoy the satisfaction of crafting your own products. Dive into the world of DIY and start enjoying beautifully soft skin while reducing reliance on commercial products that often compromise your health. Are you ready to whip up some skin-loving goodness? Your new skincare adventure awaits!

Terms of Service

Privacy Policy

Core Modal Title

Sorry, no results found

You Might Find These Articles Interesting

T
Please Check Your Email
We Will Be Following Up Shortly
*
*
*